xxl-job部署
程小虎2026-01-08 20:49:05
⚙️ xxl-job部署
📌 文档信息
- 作者: 程小虎
- 创建时间: 2026-01-08
- 最近修订: 2026-01-08
- 版本号: v1.0
✨ 介绍
- 本教程基于K8S部署 xxl-job
- 本教程使用脚本安装,可实现一键安装,整个安装过程只需要一条命令即可
- 默认安装的 xxl-job 版本为 v2.3.1
🛠️ 安装过程
📄 数据库准备
在MySQL数据库中新建一个名为
xxl_job的库在
xxl-job库里面执行下面脚本
#
# XXL-JOB v2.3.1
# Copyright (c) 2015-present, xuxueli.
CREATE database if NOT EXISTS `xxl_job` default character set utf8mb4 collate utf8mb4_unicode_ci;
use `xxl_job`;
SET NAMES utf8mb4;
CREATE TABLE `xxl_job_info` (
`id` int(11) NOT NULL AUTO_INCREMENT,
`job_group` int(11) NOT NULL COMMENT '执行器主键ID',
`job_desc` varchar(255) NOT NULL,
`add_time` datetime DEFAULT NULL,
`update_time` datetime DEFAULT NULL,
`author` varchar(64) DEFAULT NULL COMMENT '作者',
`alarm_email` varchar(255) DEFAULT NULL COMMENT '报警邮件',
`schedule_type` varchar(50) NOT NULL DEFAULT 'NONE' COMMENT '调度类型',
`schedule_conf` varchar(128) DEFAULT NULL COMMENT '调度配置,值含义取决于调度类型',
`misfire_strategy` varchar(50) NOT NULL DEFAULT 'DO_NOTHING' COMMENT '调度过期策略',
`executor_route_strategy` varchar(50) DEFAULT NULL COMMENT '执行器路由策略',
`executor_handler` varchar(255) DEFAULT NULL COMMENT '执行器任务handler',
`executor_param` varchar(512) DEFAULT NULL COMMENT '执行器任务参数',
`executor_block_strategy` varchar(50) DEFAULT NULL COMMENT '阻塞处理策略',
`executor_timeout` int(11) NOT NULL DEFAULT '0' COMMENT '任务执行超时时间,单位秒',
`executor_fail_retry_count` int(11) NOT NULL DEFAULT '0' COMMENT '失败重试次数',
`glue_type` varchar(50) NOT NULL COMMENT 'GLUE类型',
`glue_source` mediumtext COMMENT 'GLUE源代码',
`glue_remark` varchar(128) DEFAULT NULL COMMENT 'GLUE备注',
`glue_updatetime` datetime DEFAULT NULL COMMENT 'GLUE更新时间',
`child_jobid` varchar(255) DEFAULT NULL COMMENT '子任务ID,多个逗号分隔',
`trigger_status` tinyint(4) NOT NULL DEFAULT '0' COMMENT '调度状态:0-停止,1-运行',
`trigger_last_time` bigint(13) NOT NULL DEFAULT '0' COMMENT '上次调度时间',
`trigger_next_time` bigint(13) NOT NULL DEFAULT '0' COMMENT '下次调度时间',
PRIMARY KEY (`id`)
) ENGINE=InnoDB DEFAULT CHARSET=utf8mb4;
CREATE TABLE `xxl_job_log` (
`id` bigint(20) NOT NULL AUTO_INCREMENT,
`job_group` int(11) NOT NULL COMMENT '执行器主键ID',
`job_id` int(11) NOT NULL COMMENT '任务,主键ID',
`executor_address` varchar(255) DEFAULT NULL COMMENT '执行器地址,本次执行的地址',
`executor_handler` varchar(255) DEFAULT NULL COMMENT '执行器任务handler',
`executor_param` varchar(512) DEFAULT NULL COMMENT '执行器任务参数',
`executor_sharding_param` varchar(20) DEFAULT NULL COMMENT '执行器任务分片参数,格式如 1/2',
`executor_fail_retry_count` int(11) NOT NULL DEFAULT '0' COMMENT '失败重试次数',
`trigger_time` datetime DEFAULT NULL COMMENT '调度-时间',
`trigger_code` int(11) NOT NULL COMMENT '调度-结果',
`trigger_msg` text COMMENT '调度-日志',
`handle_time` datetime DEFAULT NULL COMMENT '执行-时间',
`handle_code` int(11) NOT NULL COMMENT '执行-状态',
`handle_msg` text COMMENT '执行-日志',
`alarm_status` tinyint(4) NOT NULL DEFAULT '0' COMMENT '告警状态:0-默认、1-无需告警、2-告警成功、3-告警失败',
PRIMARY KEY (`id`),
KEY `I_trigger_time` (`trigger_time`),
KEY `I_handle_code` (`handle_code`)
) ENGINE=InnoDB DEFAULT CHARSET=utf8mb4;
CREATE TABLE `xxl_job_log_report` (
`id` int(11) NOT NULL AUTO_INCREMENT,
`trigger_day` datetime DEFAULT NULL COMMENT '调度-时间',
`running_count` int(11) NOT NULL DEFAULT '0' COMMENT '运行中-日志数量',
`suc_count` int(11) NOT NULL DEFAULT '0' COMMENT '执行成功-日志数量',
`fail_count` int(11) NOT NULL DEFAULT '0' COMMENT '执行失败-日志数量',
`update_time` datetime DEFAULT NULL,
PRIMARY KEY (`id`),
UNIQUE KEY `i_trigger_day` (`trigger_day`) USING BTREE
) ENGINE=InnoDB DEFAULT CHARSET=utf8mb4;
CREATE TABLE `xxl_job_logglue` (
`id` int(11) NOT NULL AUTO_INCREMENT,
`job_id` int(11) NOT NULL COMMENT '任务,主键ID',
`glue_type` varchar(50) DEFAULT NULL COMMENT 'GLUE类型',
`glue_source` mediumtext COMMENT 'GLUE源代码',
`glue_remark` varchar(128) NOT NULL COMMENT 'GLUE备注',
`add_time` datetime DEFAULT NULL,
`update_time` datetime DEFAULT NULL,
PRIMARY KEY (`id`)
) ENGINE=InnoDB DEFAULT CHARSET=utf8mb4;
CREATE TABLE `xxl_job_registry` (
`id` int(11) NOT NULL AUTO_INCREMENT,
`registry_group` varchar(50) NOT NULL,
`registry_key` varchar(255) NOT NULL,
`registry_value` varchar(255) NOT NULL,
`update_time` datetime DEFAULT NULL,
PRIMARY KEY (`id`),
KEY `i_g_k_v` (`registry_group`,`registry_key`,`registry_value`)
) ENGINE=InnoDB DEFAULT CHARSET=utf8mb4;
CREATE TABLE `xxl_job_group` (
`id` int(11) NOT NULL AUTO_INCREMENT,
`app_name` varchar(64) NOT NULL COMMENT '执行器AppName',
`title` varchar(12) NOT NULL COMMENT '执行器名称',
`address_type` tinyint(4) NOT NULL DEFAULT '0' COMMENT '执行器地址类型:0=自动注册、1=手动录入',
`address_list` text COMMENT '执行器地址列表,多地址逗号分隔',
`update_time` datetime DEFAULT NULL,
PRIMARY KEY (`id`)
) ENGINE=InnoDB DEFAULT CHARSET=utf8mb4;
CREATE TABLE `xxl_job_user` (
`id` int(11) NOT NULL AUTO_INCREMENT,
`username` varchar(50) NOT NULL COMMENT '账号',
`password` varchar(50) NOT NULL COMMENT '密码',
`role` tinyint(4) NOT NULL COMMENT '角色:0-普通用户、1-管理员',
`permission` varchar(255) DEFAULT NULL COMMENT '权限:执行器ID列表,多个逗号分割',
PRIMARY KEY (`id`),
UNIQUE KEY `i_username` (`username`) USING BTREE
) ENGINE=InnoDB DEFAULT CHARSET=utf8mb4;
CREATE TABLE `xxl_job_lock` (
`lock_name` varchar(50) NOT NULL COMMENT '锁名称',
PRIMARY KEY (`lock_name`)
) ENGINE=InnoDB DEFAULT CHARSET=utf8mb4;
INSERT INTO `xxl_job_group`(`id`, `app_name`, `title`, `address_type`, `address_list`, `update_time`) VALUES (1, 'xxl-job-executor-sample', '示例执行器', 0, NULL, '2018-11-03 22:21:31' );
INSERT INTO `xxl_job_info`(`id`, `job_group`, `job_desc`, `add_time`, `update_time`, `author`, `alarm_email`, `schedule_type`, `schedule_conf`, `misfire_strategy`, `executor_route_strategy`, `executor_handler`, `executor_param`, `executor_block_strategy`, `executor_timeout`, `executor_fail_retry_count`, `glue_type`, `glue_source`, `glue_remark`, `glue_updatetime`, `child_jobid`) VALUES (1, 1, '测试任务1', '2018-11-03 22:21:31', '2018-11-03 22:21:31', 'XXL', '', 'CRON', '0 0 0 * * ? *', 'DO_NOTHING', 'FIRST', 'demoJobHandler', '', 'SERIAL_EXECUTION', 0, 0, 'BEAN', '', 'GLUE代码初始化', '2018-11-03 22:21:31', '');
INSERT INTO `xxl_job_user`(`id`, `username`, `password`, `role`, `permission`) VALUES (1, 'admin', 'e10adc3949ba59abbe56e057f20f883e', 1, NULL);
INSERT INTO `xxl_job_lock` ( `lock_name`) VALUES ( 'schedule_lock');
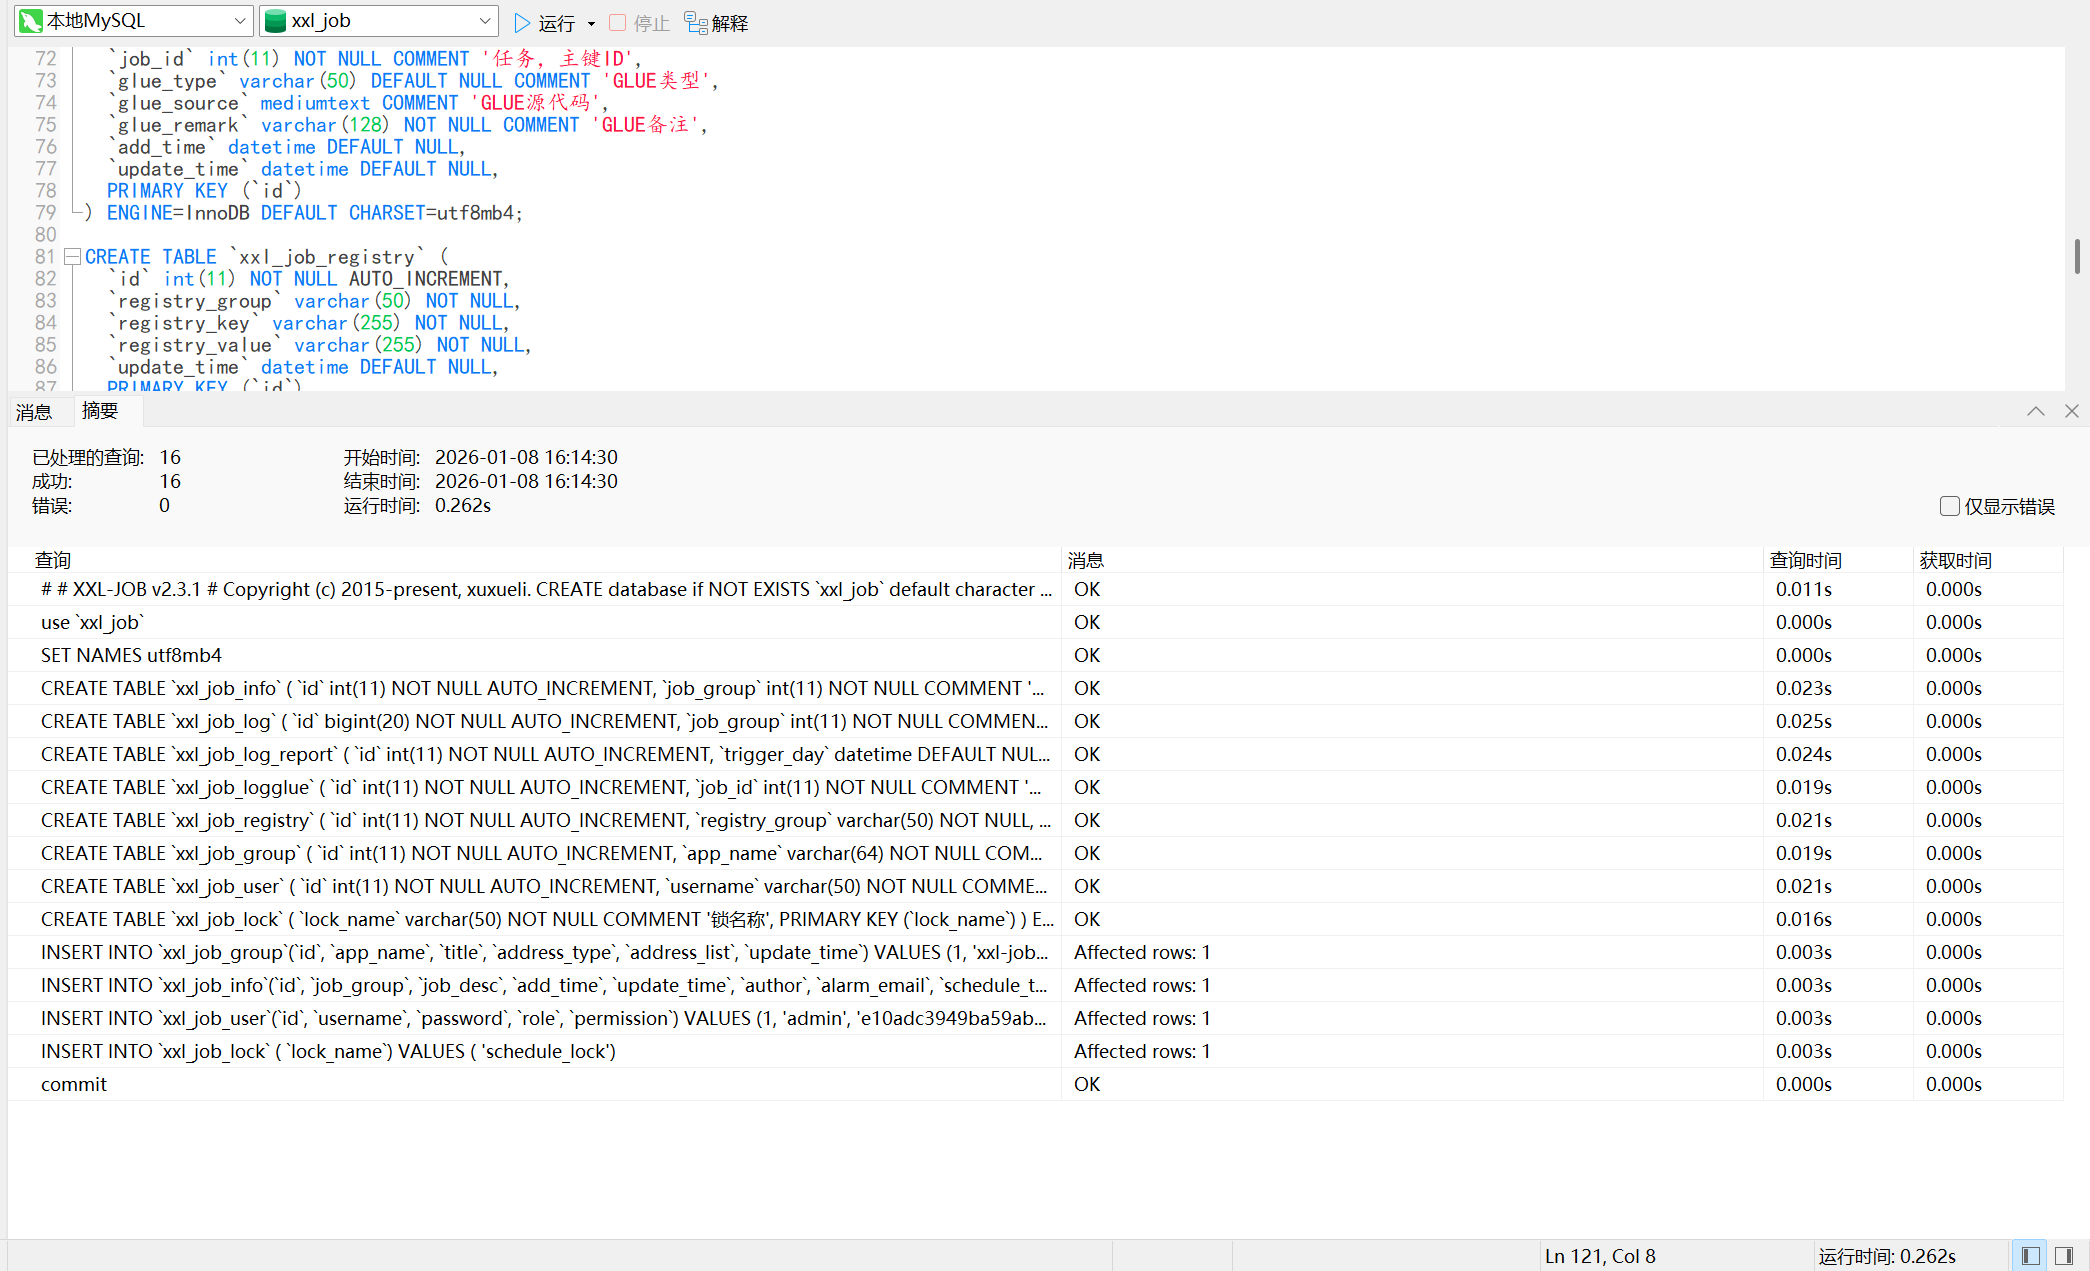
commit;
执行结果如下
📤 上传安装包
安装过程中需要使用root用户进行安装,若系统当前用户为非root用户(必须是配置了sudo免密),则先执行下面命令切换为root用户
sudo su - root
执行下面命令,创建文件上传目录
mkdir /soft
将Docker安装包对应的文件夹 [ ],上传至/soft 路径下,若一开始登录的时非root用户,可以先上传到 /tmp 路径下,然后移动到 /soft 下
- xuxueli-xxl-job-admin-2.3.1.tar:xxl-job离线镜像包
- xxl_job_install.sh:一键安装脚本
[root@master-192-168-80-25 ~]# cd /soft/xxl-job-admin
[root@master-192-168-80-25 xxl-job-admin]# ll
总用量 235480
-rw-r--r-- 1 root root 241108480 1月   8 21:00 xuxueli-xxl-job-admin-2.3.1.tar
-rw-r--r-- 1 root root     18187 1月   8 21:00 xxl_job_install.sh
📄 脚本参数说明
执行 bash xxl_job_install.sh -h 命令,可以查看脚本参数说明
[root@master-192-168-80-25 xxl-job-admin]# bash xxl_job_install.sh -h

       █████ █████ █████ █████ █████                        █████    ███████    ███████████
      ░░███ ░░███ ░░███ ░░███ ░░███                        ░░███   ███░░░░░███ ░░███░░░░░███
       ░░███ ███   ░░███ ███   ░███                         ░███  ███     ░░███ ░███    ░███
        ░░█████     ░░█████    ░███        ██████████       ░███ ░███      ░███ ░██████████
         ███░███     ███░███   ░███       ░░░░░░░░░░        ░███ ░███      ░███ ░███░░░░░███
        ███ ░░███   ███ ░░███  ░███      █            ███   ░███ ░░███     ███  ░███    ░███
       █████ █████ █████ █████ ███████████           ░░████████   ░░░███████░   ███████████
      ░░░░░ ░░░░░ ░░░░░ ░░░░░ ░░░░░░░░░░░             ░░░░░░░░      ░░░░░░░    ░░░░░░░░░░░

注意:本脚本仅用于新服务器上实施部署使用,若需要在已运行的服务器主机上执行,务必确保数据安全,以免发生数据丢失或者损坏,造成不可挽回的损失!!!

用法: xxl_job_install.sh [选项] 对象 { 命令 | help }
参数说明:

-hurl                [必填],Harbor登录地址
-hu                  [必填],Harbor用户名
-hpd                 [必填],Harbor密码
-hpj                 [可选],Harbor项目名称,空则默认为library
-ns                  [必填],K8S中命名空间,即xxl-job将安装到哪个命名空间下面。必须是已存在的命名空间
-dh                  [必填],MySQL数据库IP
-dp                  [必填],MySQL数据库端口
-dn                  [必填],MySQL数据库名
-du                  [必填],MySQL数据库用户名
-dpd                 [必填],MySQL数据库密码

命令示例:

bash xxl_job_install.sh \
  -hurl "192.168.80.55:8090" `# Harbor登录地址`\
  -hu admin `# Harbor用户名`\
  -hpd "Harbor12345" `# Harbor密码`\
  -hpj library `# Harbor项目名称`\
  -ns dhm `# 命名空间`\
  -dh 192.168.80.2 `# MySQL数据库IP`\
  -dp 3306 `# MySQL数据库端口`\
  -dn xxl_job `# MySQL数据库名`\
  -du root `# MySQL数据库用户名`\
  -dpd "123456" `# MySQL数据库密码`
📄 开始安装
修改参数示例中信息为自己的,然后执行脚本安装即可
[root@master-192-168-80-25 xxl-job-admin]# bash xxl_job_install.sh \
>   -hurl "192.168.80.25:8090" `# Harbor登录地址`\
>   -hu admin `# Harbor用户名`\
>   -hpd "Harbor12345" `# Harbor密码`\
>   -hpj library `# Harbor项目名称`\
>   -ns sie `# 命名空间`\
>   -dh 192.168.80.2 `# MySQL数据库IP`\
>   -dp 3306 `# MySQL数据库端口`\
>   -dn xxl_job `# MySQL数据库名`\
>   -du root `# MySQL数据库用户名`\
>   -dpd "123456" `# MySQL数据库密码`

       █████ █████ █████ █████ █████                        █████    ███████    ███████████
      ░░███ ░░███ ░░███ ░░███ ░░███                        ░░███   ███░░░░░███ ░░███░░░░░███
       ░░███ ███   ░░███ ███   ░███                         ░███  ███     ░░███ ░███    ░███
        ░░█████     ░░█████    ░███        ██████████       ░███ ░███      ░███ ░██████████
         ███░███     ███░███   ░███       ░░░░░░░░░░        ░███ ░███      ░███ ░███░░░░░███
        ███ ░░███   ███ ░░███  ░███      █            ███   ░███ ░░███     ███  ░███    ░███
       █████ █████ █████ █████ ███████████           ░░████████   ░░░███████░   ███████████
      ░░░░░ ░░░░░ ░░░░░ ░░░░░ ░░░░░░░░░░░             ░░░░░░░░      ░░░░░░░    ░░░░░░░░░░░

注意:本脚本仅用于新服务器上实施部署使用,若需要在已运行的服务器主机上执行,务必确保数据安全,以免发生数据丢失或者损坏,造成不可挽回的损失!!!

#==============================================================#
检查Harbor是否能够访问
#==============================================================#

Harbor: 【192.168.80.25:8090】登陆成功

#==============================================================#
校验xxl-job离线镜像是否上传
#==============================================================#

xxl-job离线镜像上传校验通过

#==============================================================#
推送镜像到Harbor
#==============================================================#

推送镜像到Harbor成功

#==============================================================#
创建资源清单文件
#==============================================================#

资源清单文件创建成功

#==============================================================#
安装 xxl_job
#==============================================================#

应用资源清单文件......

configmap/xxl-job-admin created
deployment.apps/xxl-job-admin created
service/xxl-job-admin created

恭喜!xxl_job 部署成功。请登录以下地址访问:

====================================
    登陆地址:192.168.80.25:30128
    用户名:admin
    密码:123456
====================================
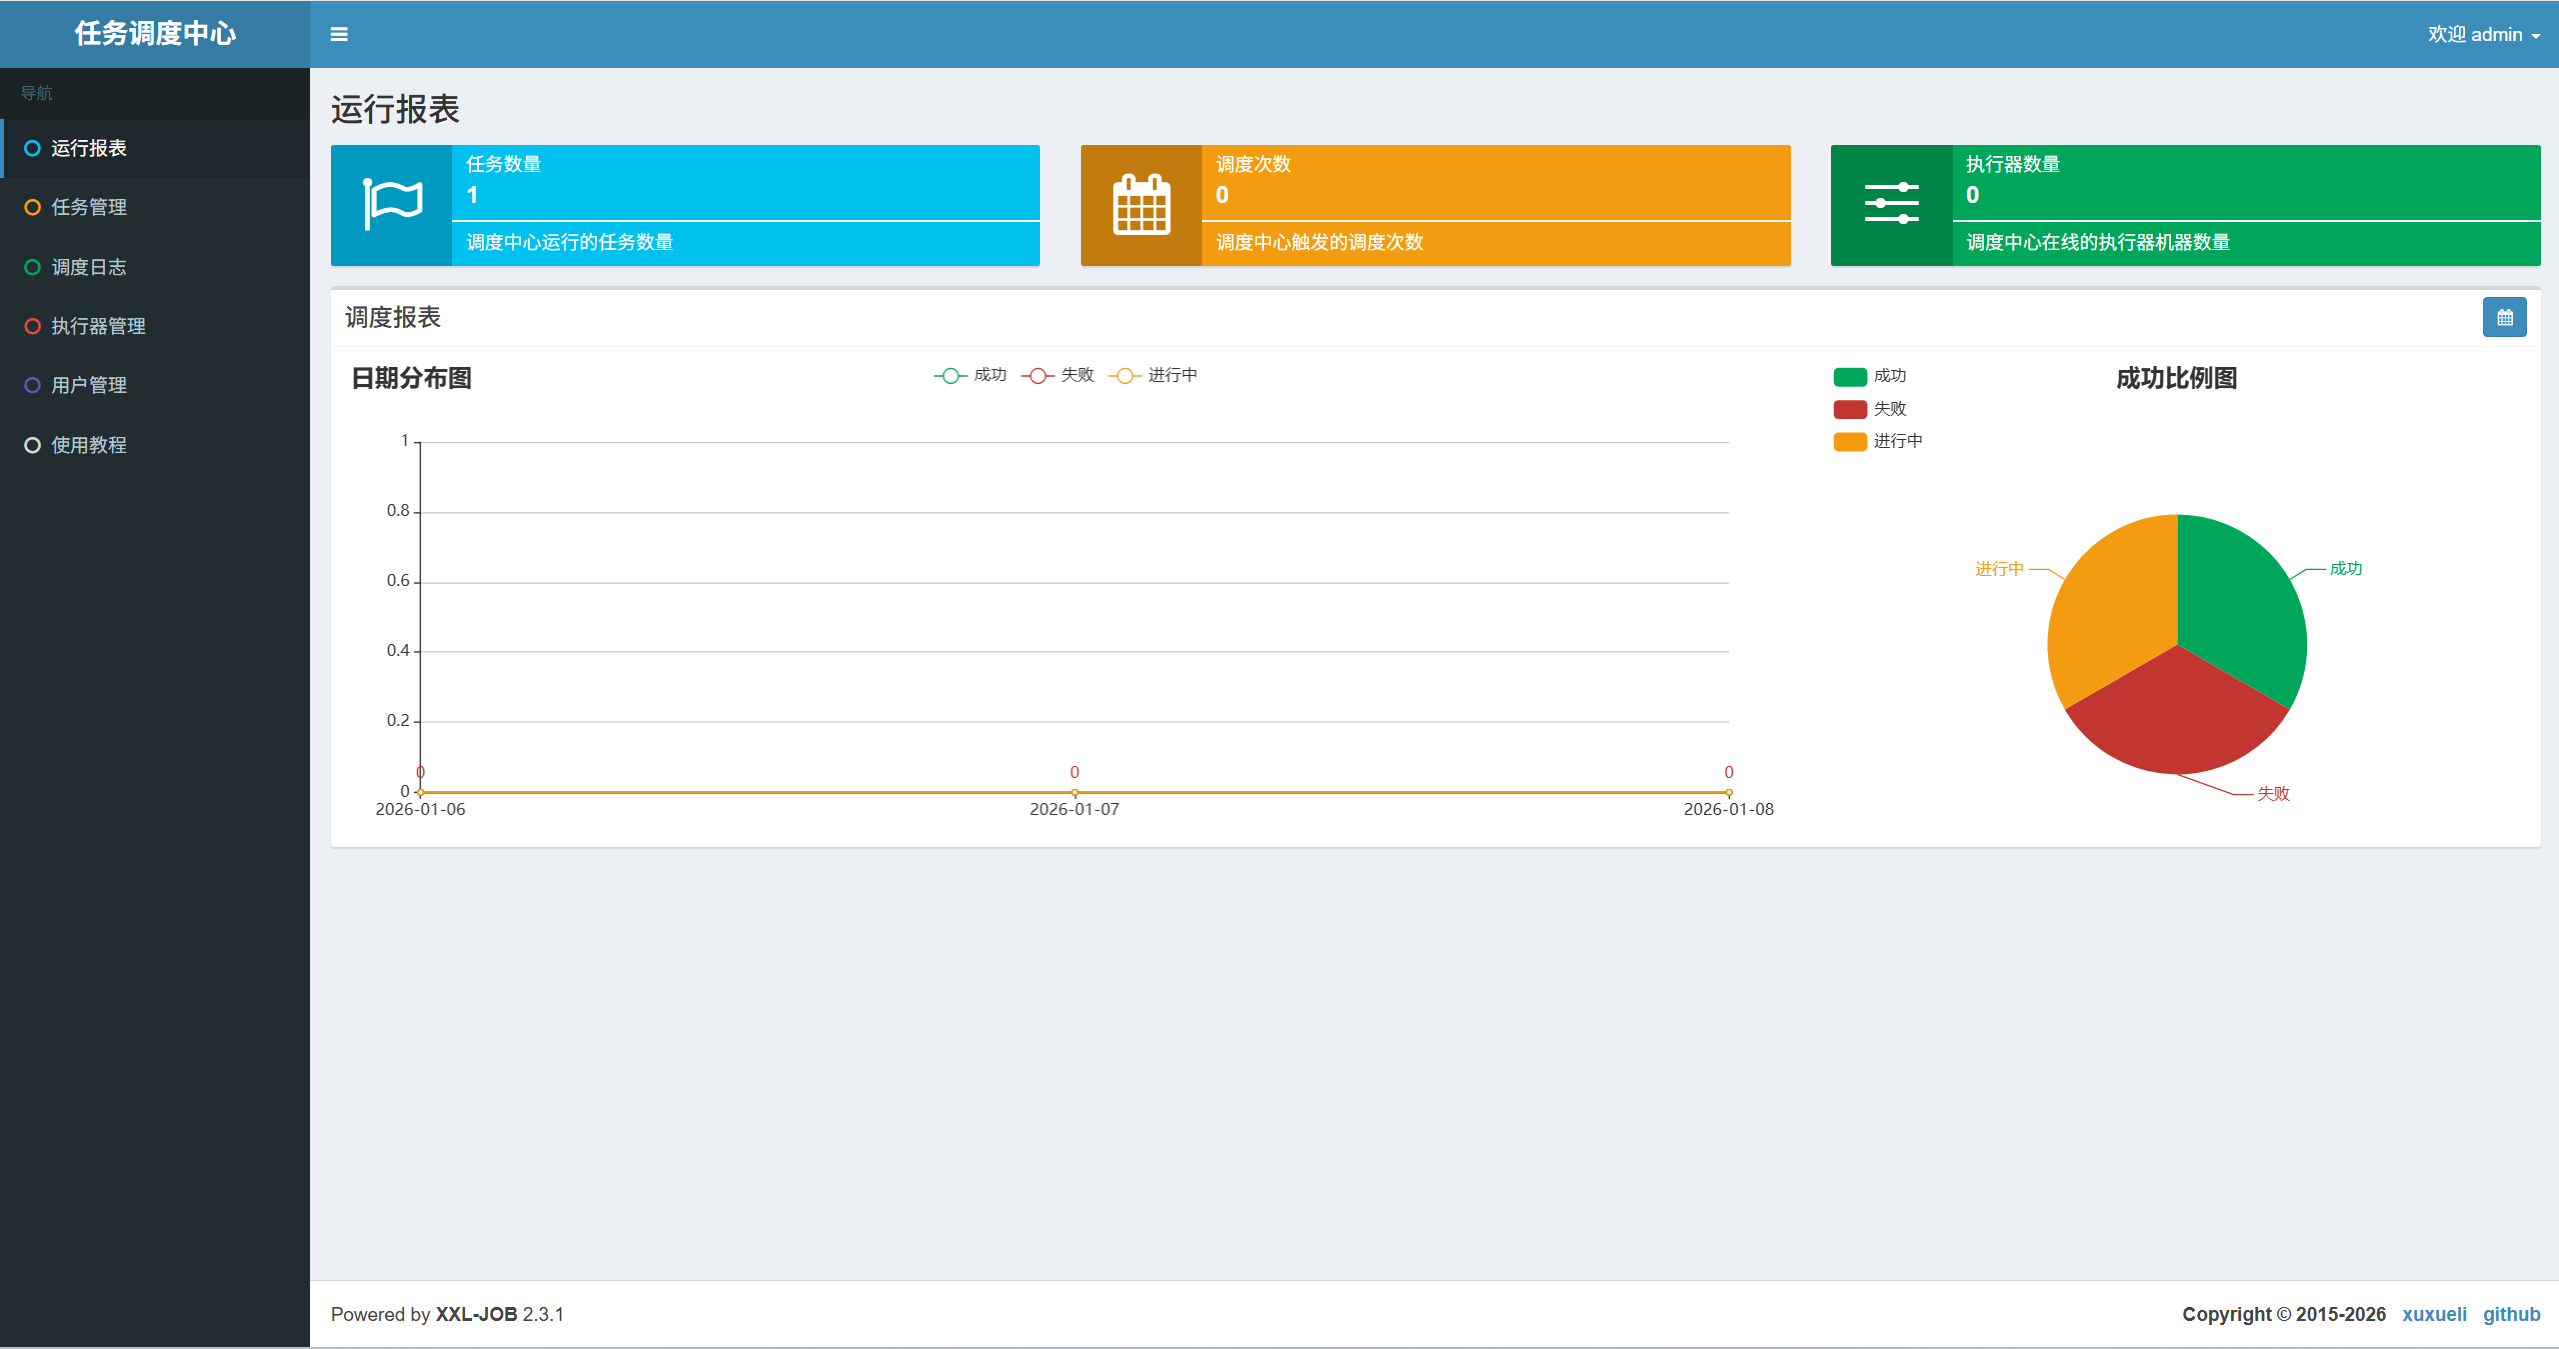
✅ 访问测试
打开上面的登录地址
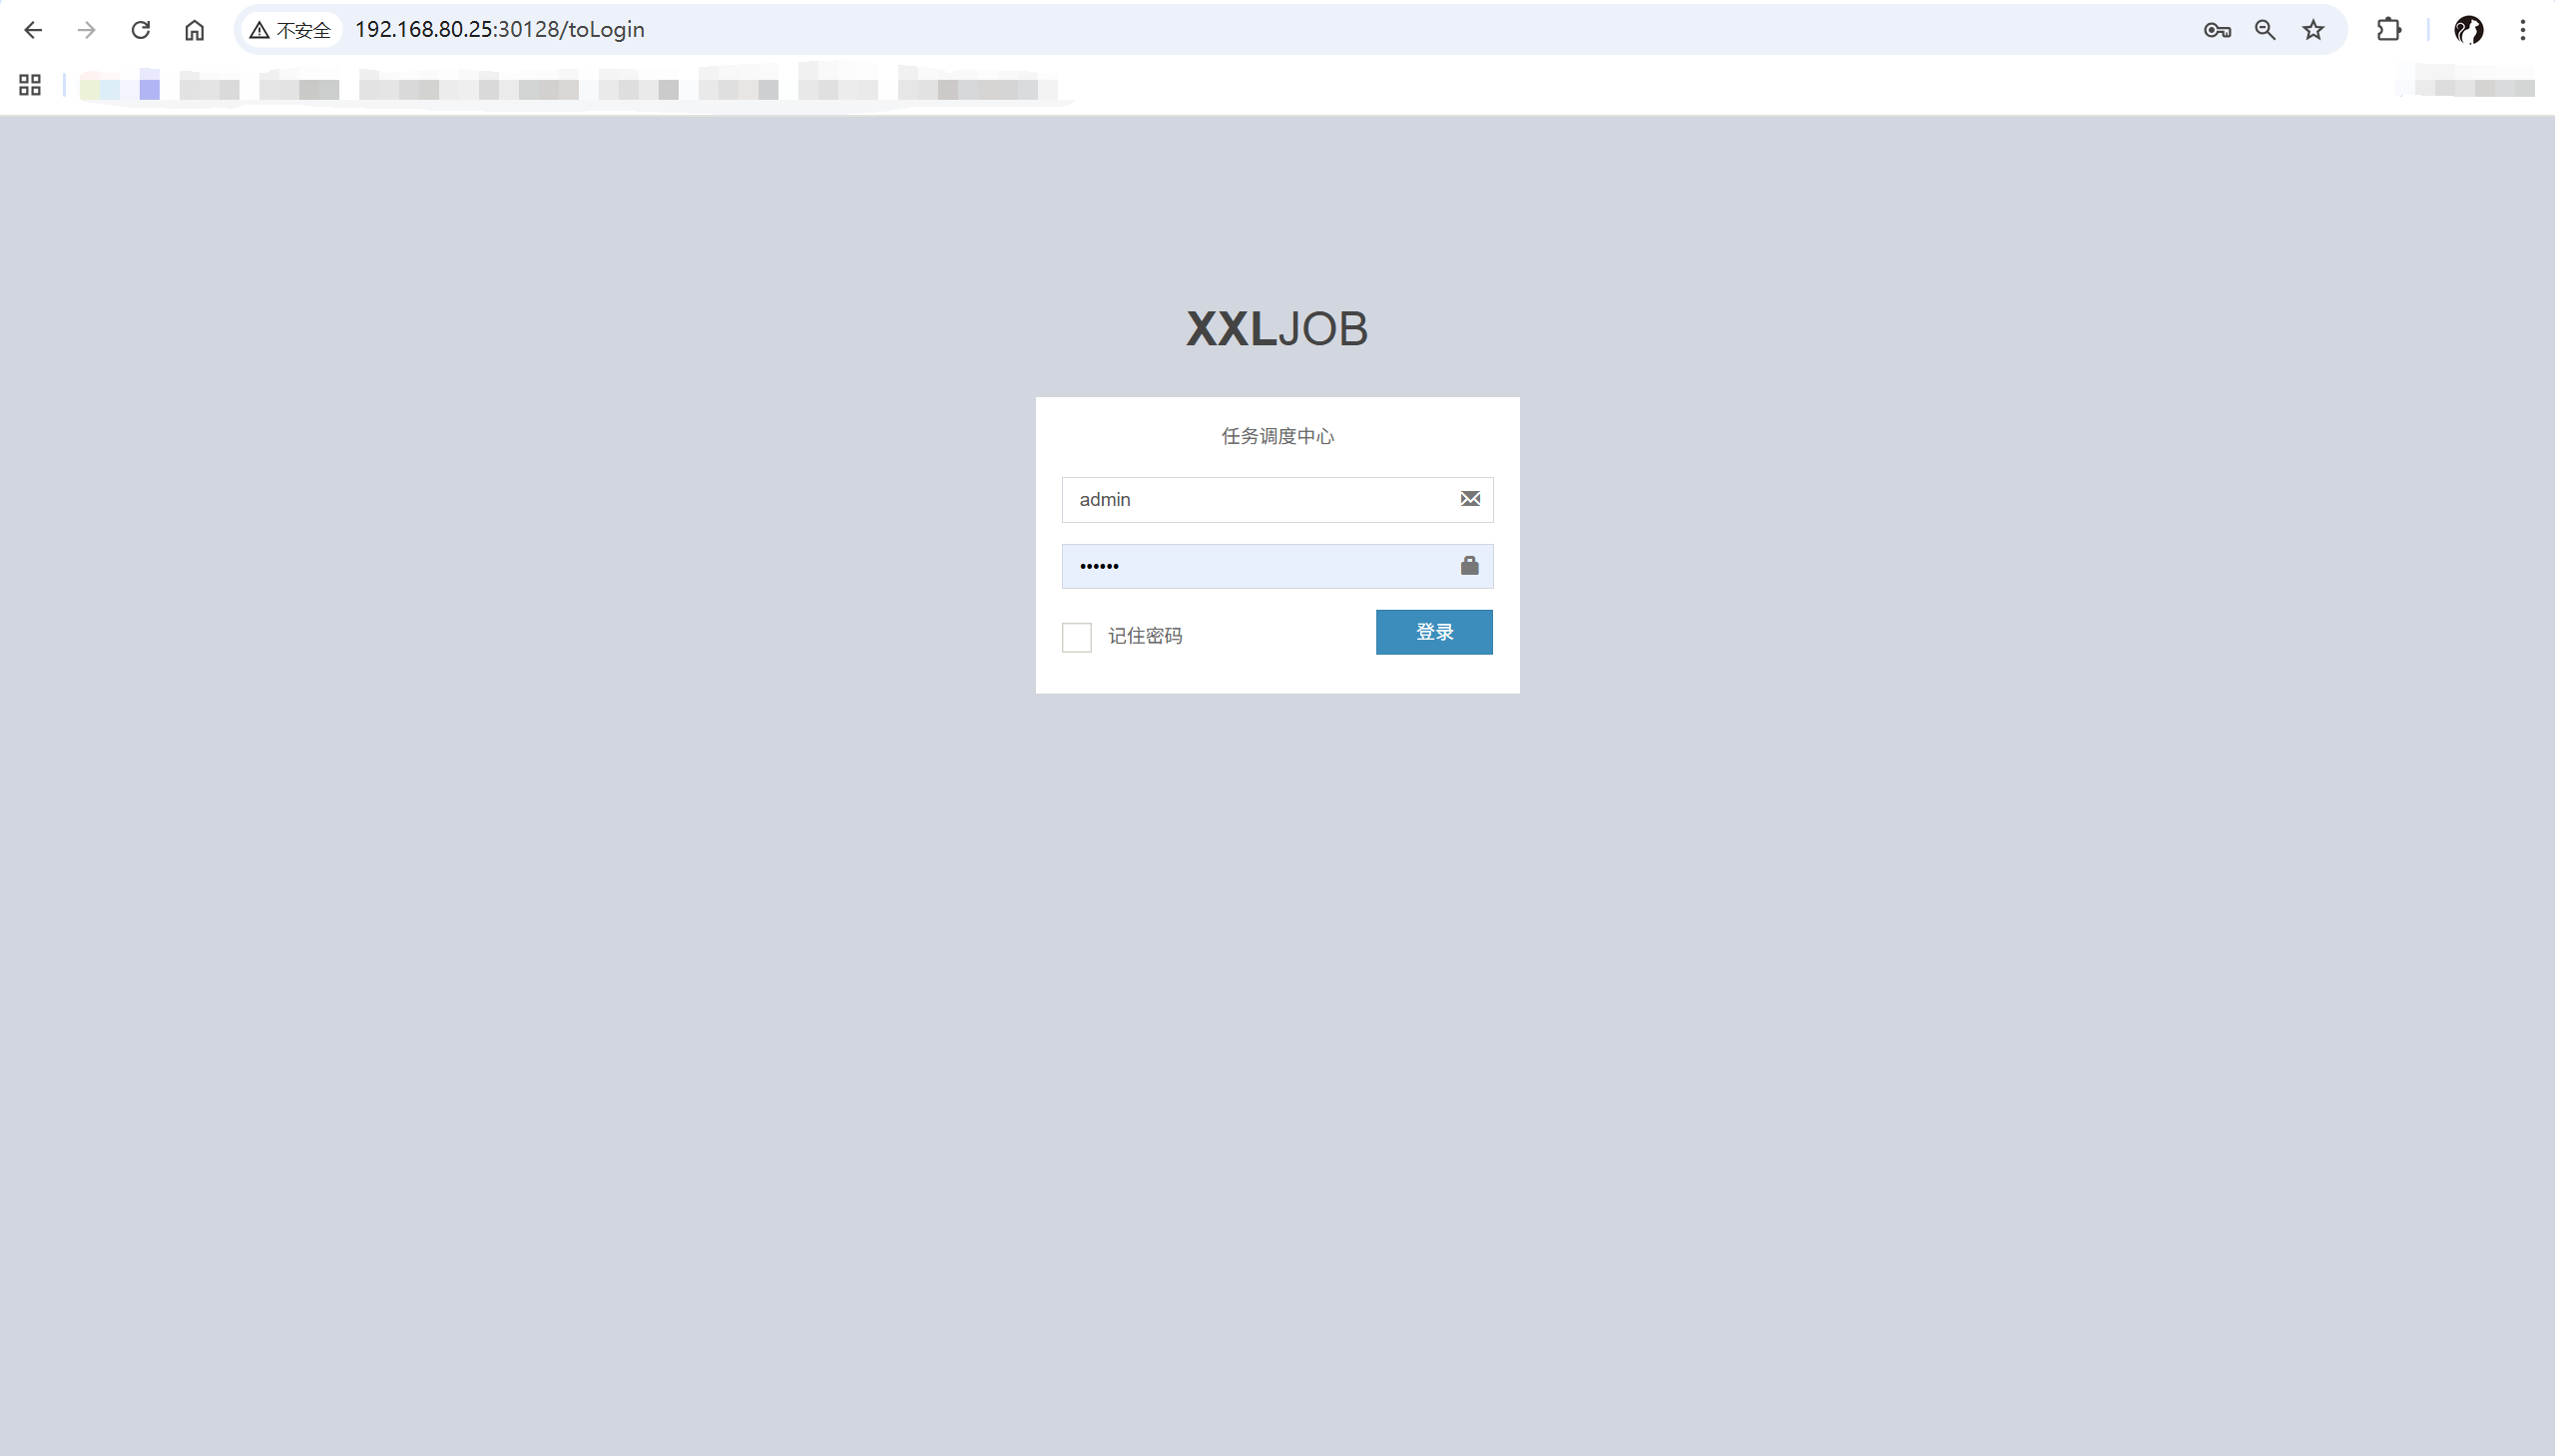
可以看到能够正常登陆 xxl-job